After more than five months I decided it was finally time to put on my ZR1 Spoiler.
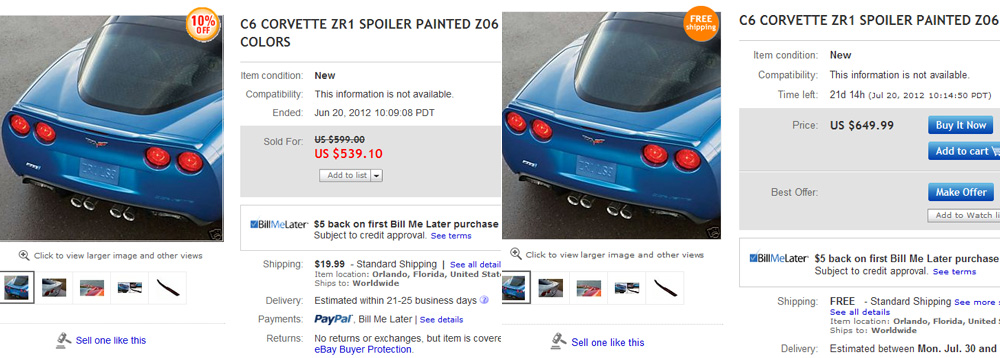
I bought the spoiler on eBay back in June. I had the OEM part on my watchlist and one day it went on sale so I snagged it. When the item was relisted it was about a hundred bucks more. I love a good deal. But all good deals have a secret cost. I had to wait for over a month to get the spoiler and it when it finally arrived the paint wasn’t as nice as I’d hoped. But my car’s not perfect, so I decided I could live with it. See? I’m not the snob you thought I was.
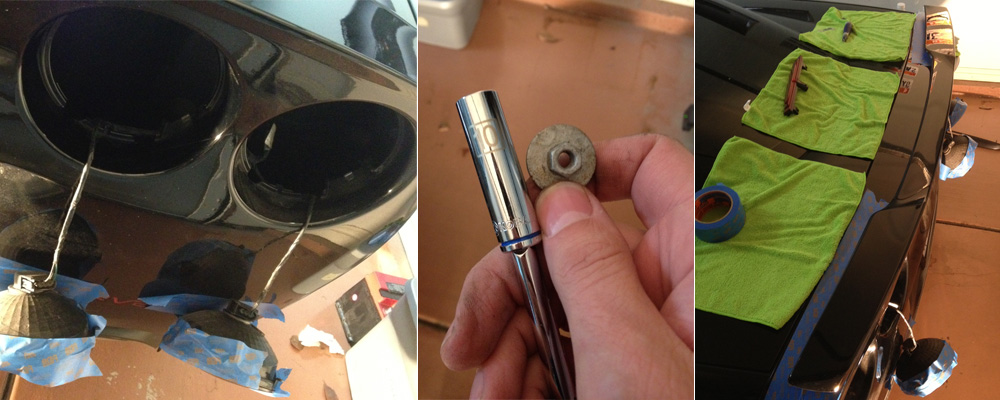
At first I had no idea how to go about putting the spoiler on the car. Luckily YouTube provided me with an excellent tutorial (which I have shared below). Here’s how you do it: Pop out the tail lights (Torx, don’t remember the size though). Reach in and unscrew the four bolts from the stock spoiler. Don’t drop anything in there- you’ll have a heck of a time getting it out. Put paint on the six outer ZR1 spoiler bolts and then press the spoiler into place.
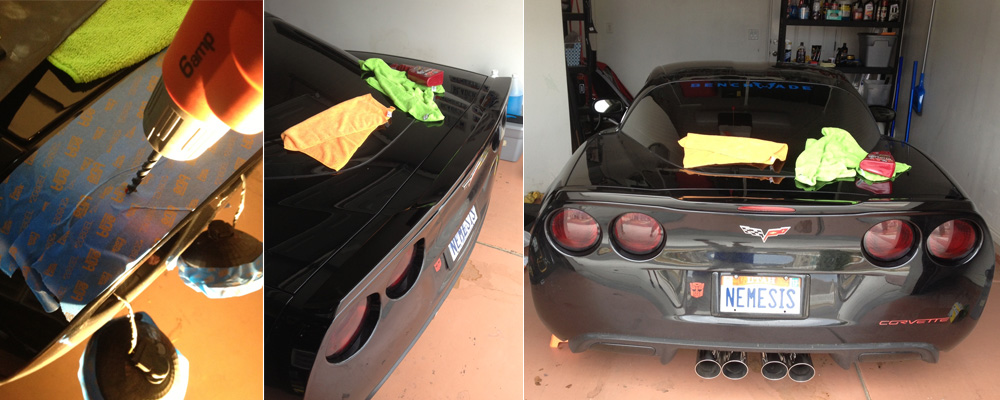
The paint markings will show you where to drill. I did this several times and double checked the symmetry with a tape measure. Drilling into the body is not a good feeling, but take courage knowing that they will soon be covered up. Swap the third brake light into the new spoiler, fit the spoiler into place and then tighten the bolts (not too much). Put your rear lights back in and Voila!
I spent a good deal of time adjusting the brake light and getting the fit just right. I keep reading about “thirty minute” installs. Not me- I spent at least an hour on this. When I was done I polished the back of the car up a bit and I think the ZR1 spoiler, despite some small paint imperfections, looks awesome. I’d recommend this modification to anyone.
Here is the install video I watched:


