Once you start down the road of car customization there is no end. There’s always one more accessory, another change, and a quick tweak that turns into a major project. “I’m going to replace my gauge pod… and my gauges… and I guess my whole A-pillar trim and hell, I may as well pull the steeling column panels out and rewire everything since it wasn’t quite right before.” So that’s what I did.
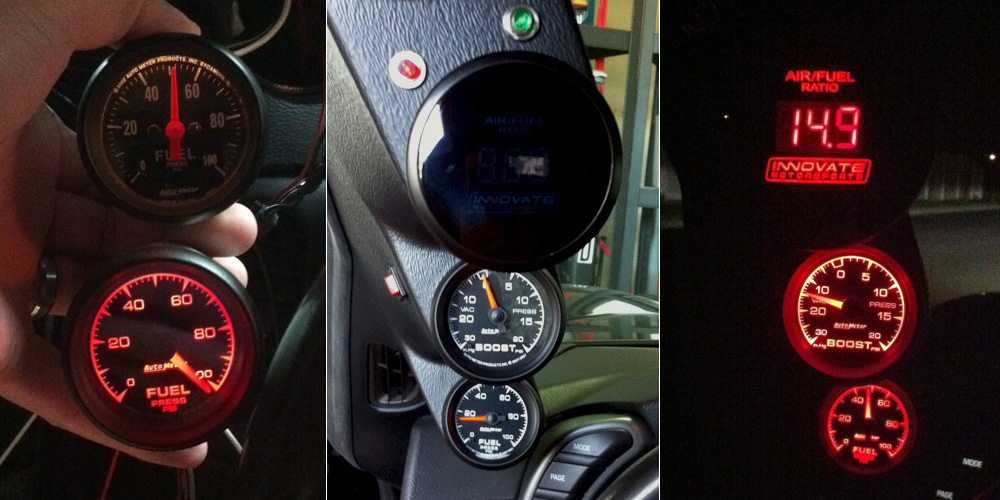
I decided I was sick of the incandescent edge lit Autometer Z-series gauges in my car (and even more sick of the fact that they are wired in such a way that they are always lit). I really liked the look of the red LED backlit Autometer ES series gauges and so I picked up the fuel pressure and boost models. I think the lettering font on the ES gauges looks much better too and I like the fact that the letters are white when they aren’t lit. The ES gauges also go really well with my Innovate AF gauge.
A Few Installation Notes
My gauge pod was in bad shape from being pulled off several times (warping, misaligned panel fasteners, extra holes) so I decided to get a new one. I recommend Speedhut for gauge pods for the C6 Corvettes (both 2 and 3 gauge). They pods are inexpensive, good quality and Speedhut offered fast free shipping. No issues. The extra lights and switch on my pod are for the methanol kit, btw.
If you’re putting in your gauges from scratch then there’s a great document from A&A Corvette Performance: C6 boost and fuel gauge installation on the A-pillar (as a side note: I got my last clutch from A&A Corvette and they were great). I didn’t have to run the wiring for the fuel pressure or boost gauges this time (I used the old wiring harness & tubing), but I did end up taking off the paneling below the steering wheel to tweak the wiring and I have a few things to add to the A&A instructions.
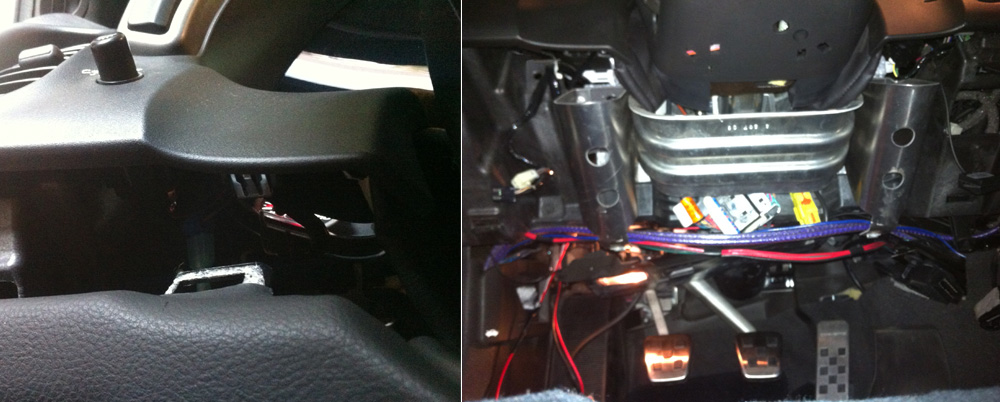
When you pull off the paneling it’s important to note that the bottom panel (below the steeling wheel) actually has a bracket that the dash panel clips into. You need to pull the dash panel out a bit to remove the lower one (left picture). Then just for reference this is what you should see minus the red & purple wires on mine (right picture).
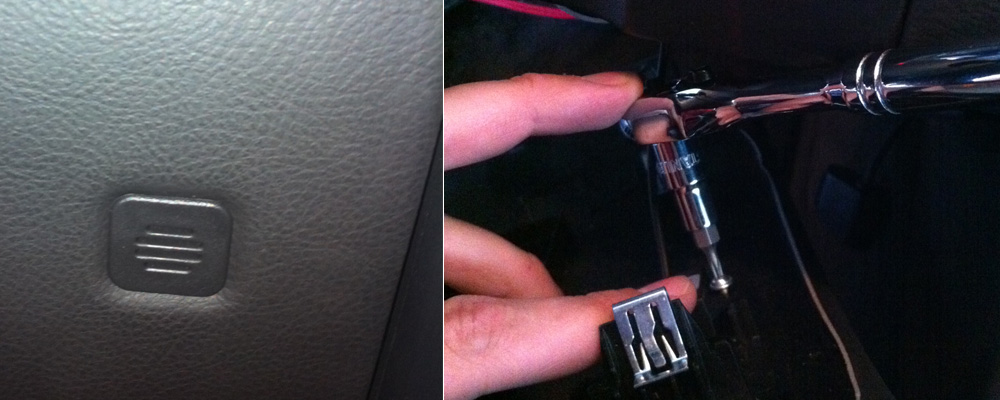
I don’t see a need to remove the ignition button as mentioned in the A&A doc. But you will need to remove the small microphone (left picture). There’s no harness for this part and the best way I could think to remove it was to use a Torx 10, a socket wrench and and hex head adapter. This will give you the angle you need to unscrews the microphone (you could just prop the panel up on something and not actually take it off but it is more convenient if you remove it).
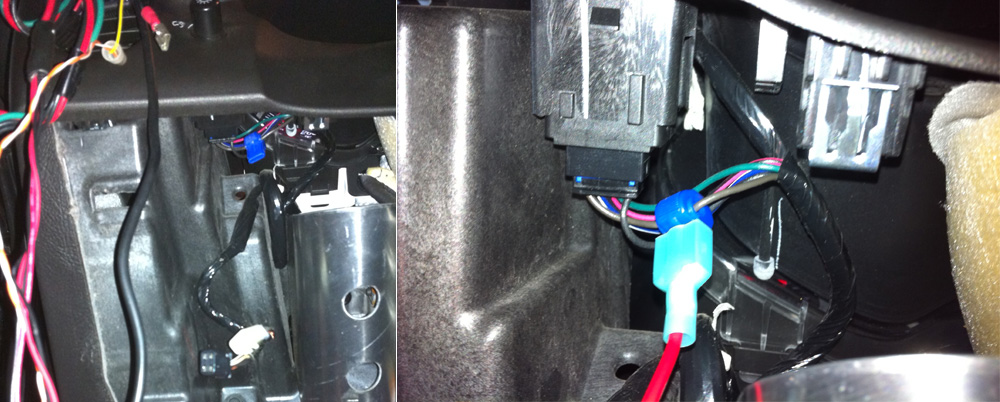
The dimmer harness is easily accessible from under the dash (it’s right behind the dimmer switch). I don’t think it’s even necessary to pull the harness out. I spliced into the wire and used a T crimp clamp to run power to my gauges (just the power for the backlighting). It is really nice to have the lightning in the gauges functioning with the headlights in the car (I also wired in my wideband gauge to that it dims at night).
Like I said, I didn’t do any of the hard stuff this time around, but I wanted to add a couple of suggestions and pictures from the work that I did do. So there you have it- my pod and gauge swap. And it’s just like the saying goes, “Gauges make the man.” Or something like that.
Posted by Cam Hughes, October 17, 2011


