Raptor Recon Illuminated Modifications

A few months ago I picked up a few illuminated Recon modifications for my truck. I’m a sucker for pretty lights so I thought these would be perfect. The illuminated door sills were a no-go from the moment I opened the box. Peeling / cracked stickers, missing hardware and a questionable installation procedure had me scratching my head:

The next illuminated parts were SVT vents on the side of my truck. The quality was much better and the install went smoothly, for the most part (the body clips provided by Recon didn’t fit correctly):

You win some and you lose some! I’m still looking for better door sill replacements (maybe non-illuminated). If you come across some shoot me a link.

Ford Raptor: Stubby Antenna Install

I’ve been trying to balance out Truck purchases and projects more evenly with the car’s. I picked up “TheStubby” antenna a couple of days ago based on the much lower profile appearance. Installation was super simple- just wrench the old one off, make sure you have the right one (compare threads), then screw the new one in and enjoy!

The Stubby isn’t going to hit that drive-in sign, the car wash sprayer thing, or drag across the bottom of a garage entrances. Given it’s diminutive size it’s mush less imposing. I’m still considering whether I like the actual look better. Don’t get me wrong- it certainly looks just fine. As far as performance- I drove around to a couple low-signal areas and it performed like a champ. No reception issues!

Overall: 9/10 (because I’m not totally sold on the look).
But I’d easily recommend this as an upgrade to anyone with a Raptor.

I’m trying to decide if a stubby installation video would be worth the effort.  It might be a good opportunity to bust out the new camera. Hmm .

Raptor – Bushwacker Pocket Style Fender Flares

I’m always searching for ways to make my vehicles looks a little more aggressive. A Facebook friend in Texas has the same truck I do and installed Bushwacker’s pocket style fender flares onto his truck. They looked fantastic:

In addition to looking better, Bushwacker’s flares are a bit wider. With my wheel offset the tires stick out past the stock flares so this seemed like a practical upgrade as well as a cosmetic win.  I took the plunge and added them to my truck:

The install wasn’t as smooth as I had hoped (due to some fitment issues), but it all worked out in the end. My installation video:

Overall a solid addition to any Raptor!

Blacked Out Wheels & Super Clean

I took my truck up to Luxe Auto Spa for a decontamination & interior / exterior cleaning. I try to keep my truck reasonably clean but I can’t do it like these guys. All I could say when I went to pick up my truck was “wow.” And I kept saying it. I don’t have any pictures of the clean truck (“clean” just doesn’t show up in pictures) but take my word for it- amazing.

One thing that I dislike about the Raptor is that wheel hubs, rotor edges and parts of the brake have an ugly unfinished metal look (and they rust and experience discoloration). Here again, pictures just don’t the issue any justice. Regardless, the problem has been solved.
truck-wheels-unfinished-may-2016

LUXE offers a black ceramic coating they can apply to the unfinished parts. Voila! Instant finished look (which makes a huge difference) & increased protection for the wheels you love.
truck-wheels-finished-may-2016

Raptor JL Audio Upgrades

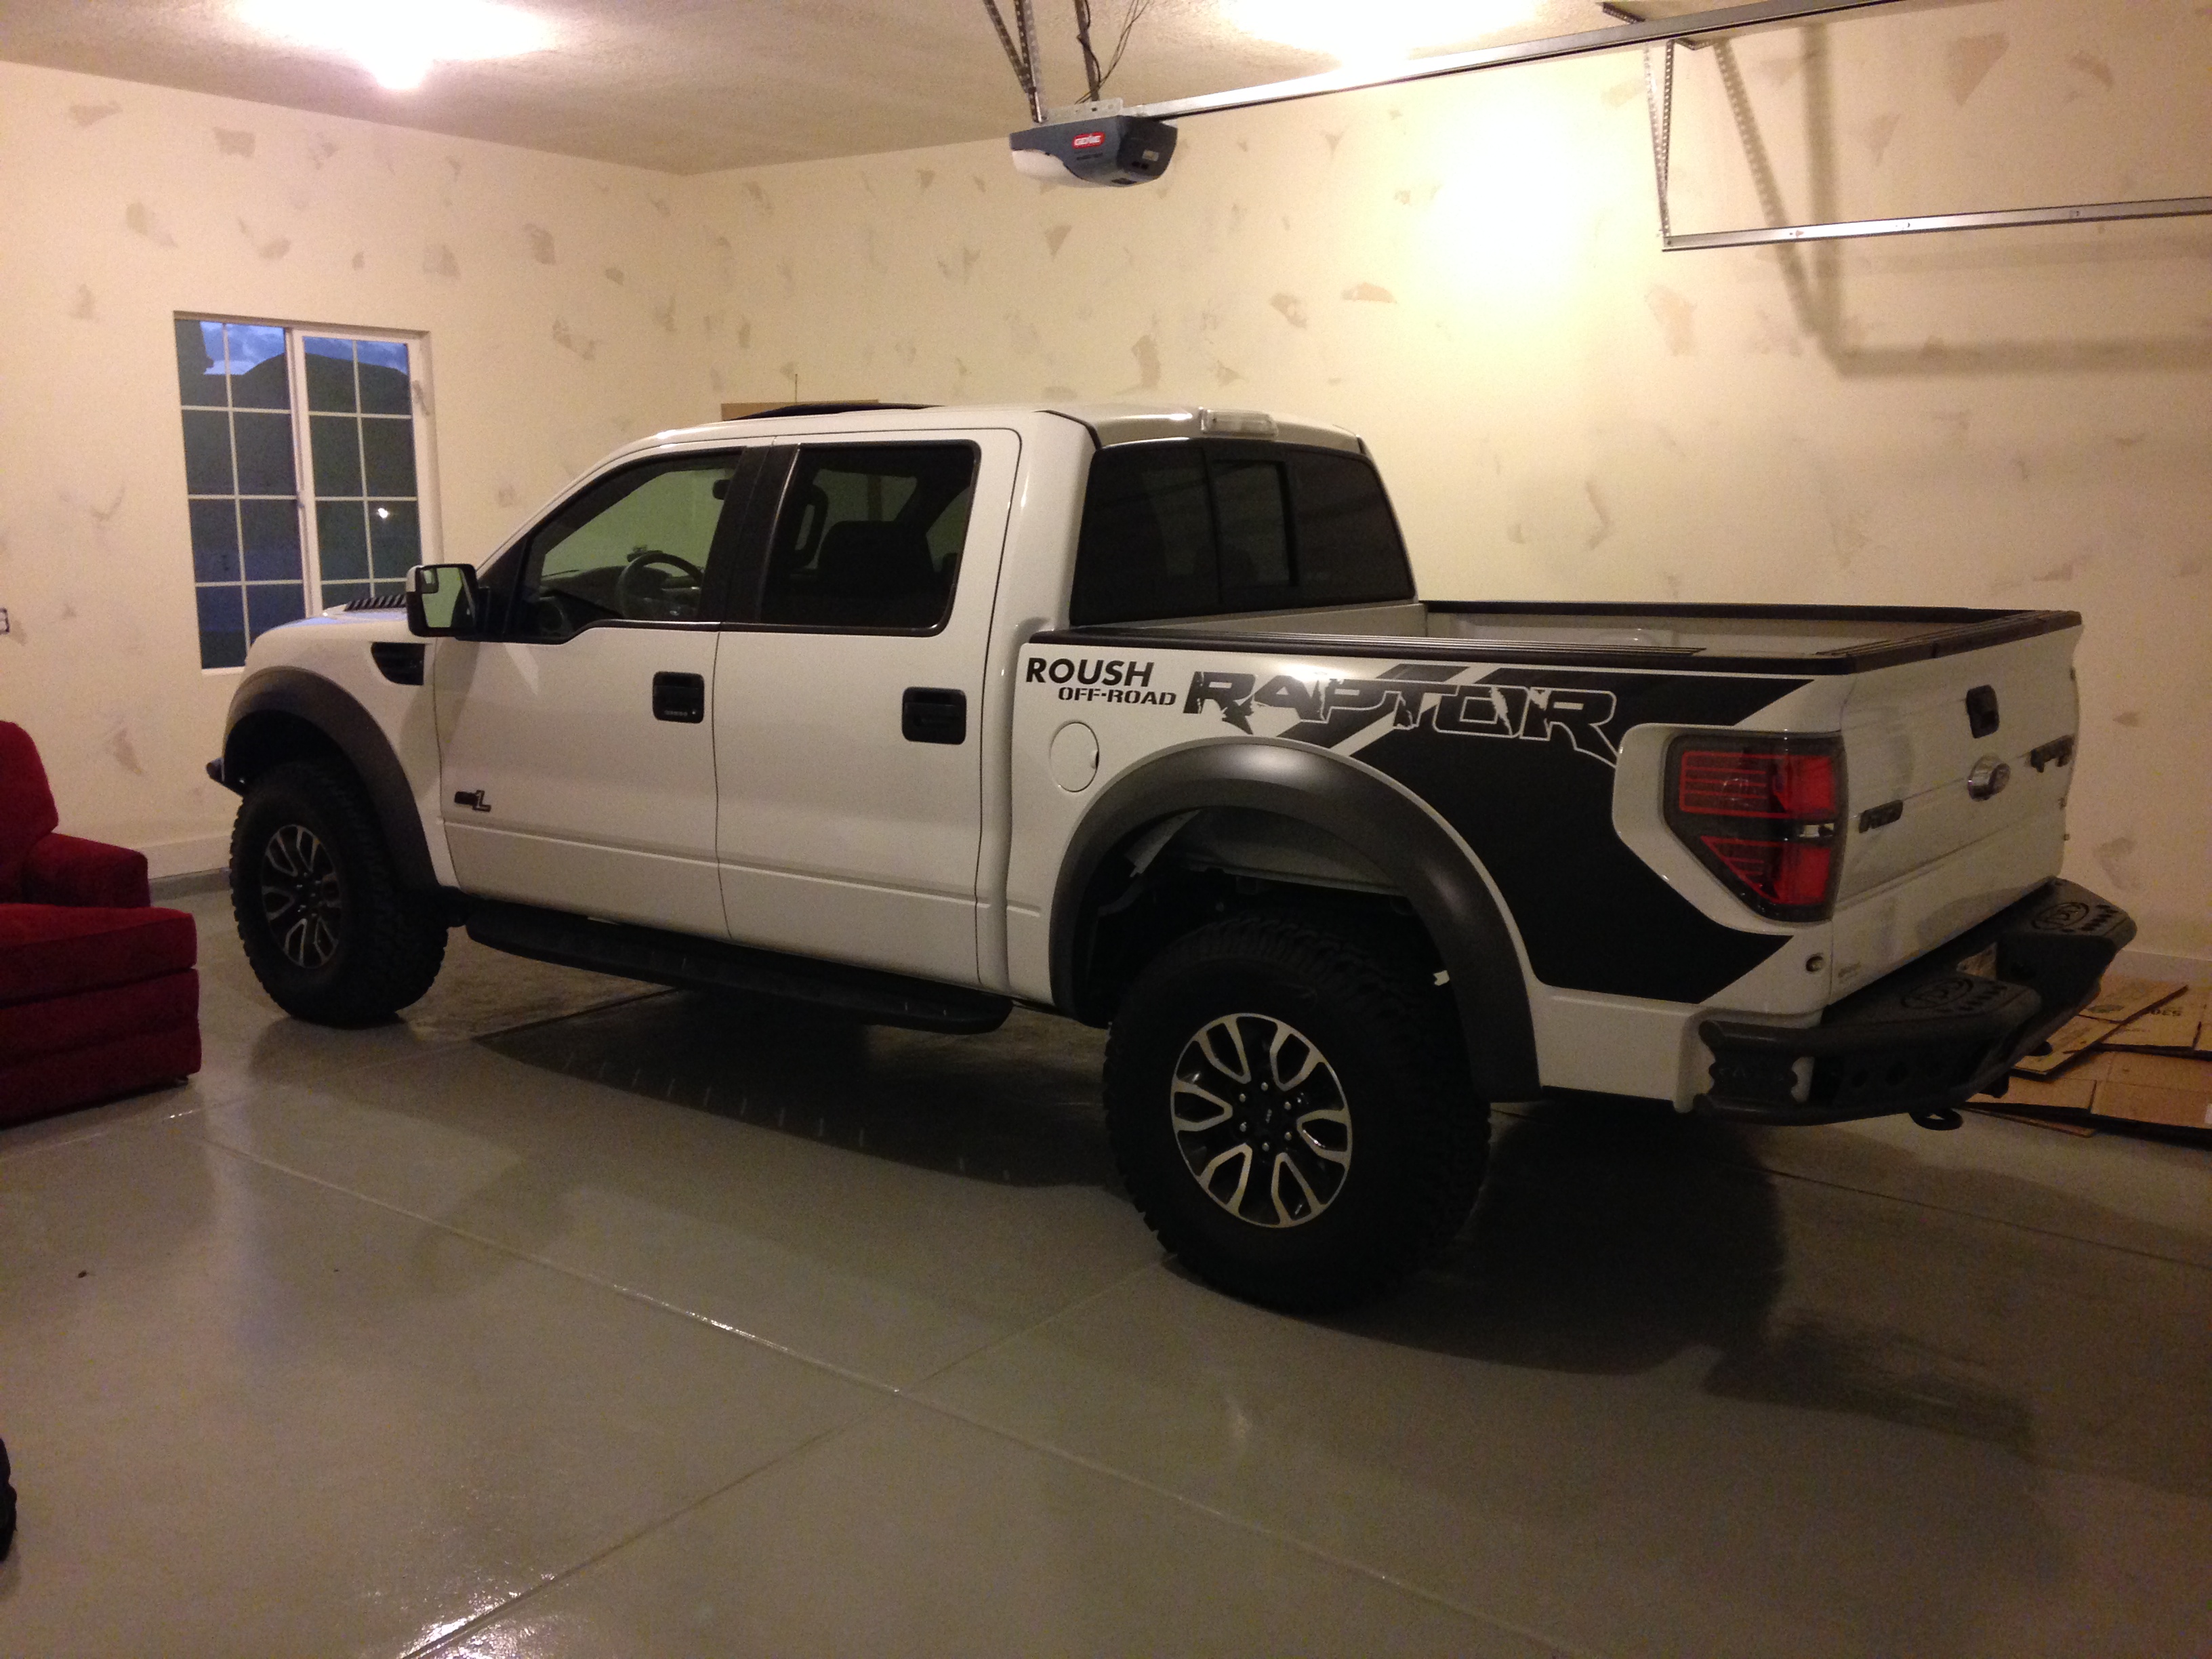
I felt reasonably pleased with the Sony stereo that came with my Raptor (granted, expectations were low) but the stock sub wasn’t cutting it. First I tried a modification that involved filling the sub enclosure with Poly-Fil. While it certainly helped a bit it wasn’t enough. I looked around for more options and eventually decided I’d have to do an aftermarket sub. Behold!

ford-raptor-subwoofer-install

After doing some research I was pretty confident it was a DIY job. Various forum posts suggested install time would be a couple of hours. However it took me much longer (I’m a little obsessive and I seemed to run into a lot of hiccups with this project). There are some good online resources showing how to add an aftermarket amp and sub (like this one) so I won’t go into too much detail regarding the actual install. But I will break down what I got and how well it works.

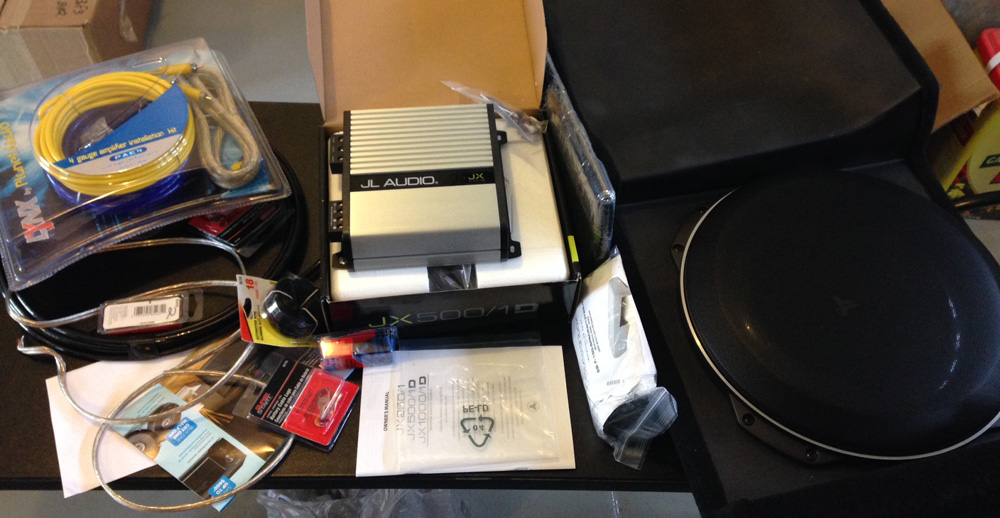
JL Audio Stealthbox w/ a 13″ TW5v2-2 : I really wanted something “plug and play” and JL Audio’s stealth box fit the bill. The 13″ sub was a little bigger than I wanted as my preference is nice tight bass (I’ve always been a 10″ sub man), but overall it sounds very good, especially given how shallow it is. Mounting was a little tricky (I had to have my wife stand on the box while I screwed it into the floor mounted brackets) but the overall fit is excellent and it looks fantastic.

L Audio JX 500/1 &  RBC-1 Remote : Small, straightforward and willing to accept hi-level inputs (the signal from the sub wires). I had a JX in my Camaro and it was perfect so I went with one again. I left the frequency filter at 200hz working off the assumption that the headunit is providing a filtered signal already- seems to work well. A remote is important when your stereo doesn’t have an independent sub volume (I think on the JX series the RBC-1 allows you to control the gain). I mounted my control knob behind my shifter (a ridiculously difficult wire run that required the disassembly of the center console).  While installing the RBC some of the threads on the remote broke off which was aggravating. I’m glad the remote is a two-piece design so I can replace it later.

AudioControl LC2i : In the end I decided to bypass this. I was excited to use it to turn on the amp, but I ended up just tapping into an accessory circuit wire. Processing your audio signal more times than you have to can’t help so I was just as happy not to use it.

Planet Audio Pak4 Sub Kit : Ehhh. I only needed the positive power cable, remote turn-on wire and the fuse holder (buying the kit was cheaper than buying them separately). It’s good enough, but I would get a different (nicer) kit if I did it again.

sub-amp-install-nov-204

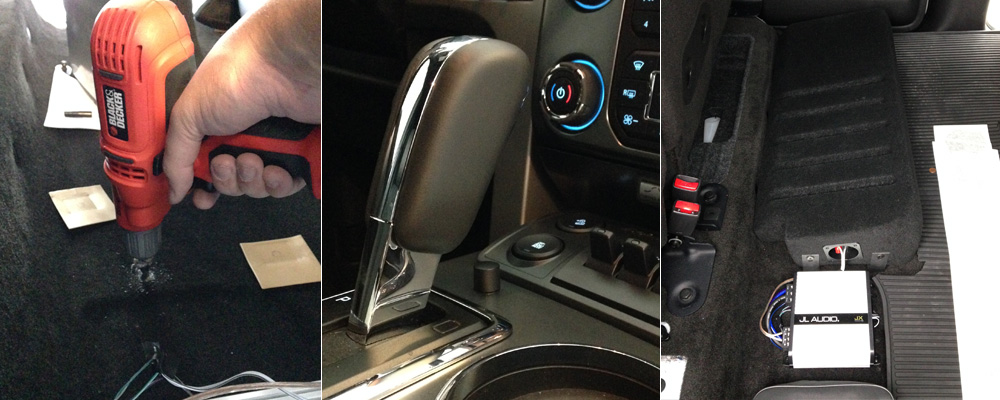
Overall things went smoothly (although I ran into some funny hiccups- I’ll mention some of them below and maybe someone else can be spared). The worst part for me was drilling through the truck’s carpet, pad and chassis- there was no turning back at that point! I was pretty meticulous about hiding all the wires and running them in the right spots so that probably contributed to the project’s duration. There is no static when the radio is off (like in my Tacoma), no popping noises (when shutting off the car), no alternator whine and everything works just like it’s supposed to.

After everything was installed and adjusted it felt like the mids and highs were a bit flat and muddy. The volume seemed okay, but nothing I did seemed to fix the washed out sound. Some people seem vehemently against the practice but I decided to replace the speakers and run them off the of the stock Ford amp. Another round of JL Audio with some Dynamat for good measure.

speaker-install-round-2

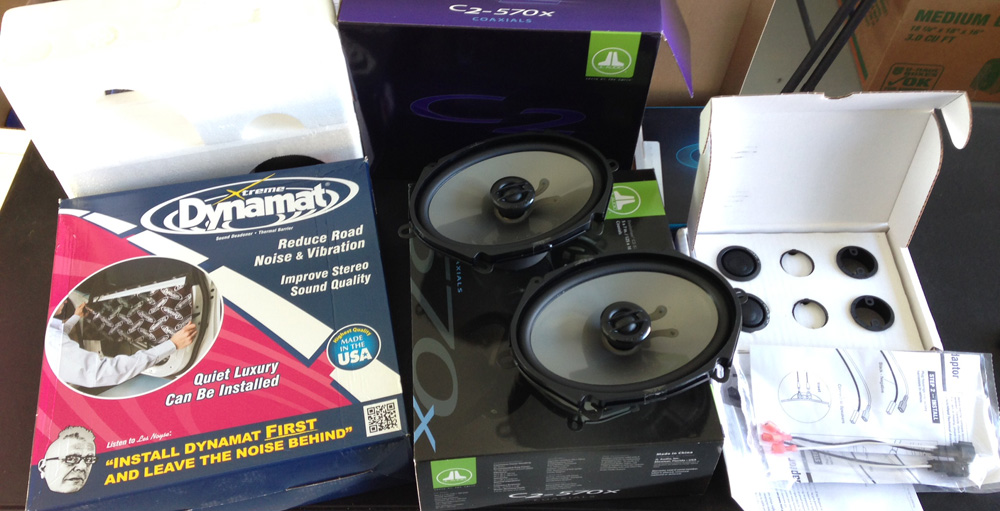
JL Audio C5075ct: After doing of lot of research I decided against component speakers. Since there’s no simple way to run new speaker wire from the door to the cabin I wasn’t sure how I’d use the crossover (the C6075ct’s have an inline crossover) and I was worried about power requirements of most of the component sets I looked at. These JL tweeters have nice clear detail that was simply missing from the stock tweeters. There was some slight sibilance that I combated by pointing the tweeters toward the dash. Overall they are an amazing upgrade that really brightens the sound up.

JL Audio C2-570X: I bought two sets of these thinking I’d use them in the front and back. In retrospect that was a dumb plan. The C2-570X’s sound great in the back- just the right amount of fill and volume. Sadly in the front the speakers sounded harsh and tinny; they just didn’t produce the mid and low ranges with enough oomph and the extra tweeter was overkill (I would have cut the power to the tweeter if the woofer had sounded okay). I ended up pulling the C2-570X’s out and reinstalling the stock woofer speakers. So much better. The Ford / Sony speakers are not junk by any means and, in my opinion, the woofers sound good with the JL Tweeters (mids aren’t quite right but the highs really compensate). I should have tested things more carefully while doing the install. Lesson learned.

speaking-install-nov-2014

As I put the speakers in I filled the back of the doors with Dynamat and used it to create a cradle. The Raptor doors are covered by thick black plastic so I didn’t end up using the Dynamat as extensively as anticipated. Does it help? I can’t say for sure- it definitely eliminates the hollow sound when knocking on the door. Mostly I just feel cool that I have some Dynamat in my truck.

And check out my cute little helper! She assisted with unpacking the goodies, poked tools into every opening she could find, played with tape, the Dynamat, ran off with my wires and even helped me test and tweak my music (“That sounds good, Daddy?”). I couldn’t have done it without her :).

I would say the with all the modifications the sound is vastly improved. At rest and in motion music (and bass) is plenty loud and the level of clarity and detail is much higher. There is still some distortion at high volumes and I’m not 100% certain the sub is getting a full range signal. Nevertheless I’m pleased with how this stereo has turned out. Each time I have hopped into my truck I’ve thought “Hey, this is pretty good!” One day I will probably go another round (4 or 5 channel amp, something like JL Audio’s Clean Sweep and some better components / woofers) but I don’t feel like there’s any hurry. And given how integrated head units have become with vehicle systems my preference is to keep things as stock as possible.

Install Adventures: 

Before bolting the the JL Audio Stealth Box down I decided to test it out. I kept hearing a whistling noise. I finally realized it was coming from the holes in the sub enclosure where the mounting screws would eventually go.

And then I kept hearing a high pitched whine /  squealing noise. No matter where I looked I could hear the noise but I couldn’t find it. It took me a few minutes to realize the sound was coming from my flashlight.

When I initially hooked everything up the amp didn’t come on- it looked like it was DOA. My multimeter is packed in a box somewhere and I haven’t found it yet (we recently moved) but I did some testing and was able to determine the amp was fine. Why was there no power? It was a bad ground. The bolt where I’d attached my ground wire was connected to the chassis but it turned out that the receiving nut had a plastic cover that completely isolated it from the metal of the chassis. Geez. Always check your ground.

When I went to put the interior panels back onto the rear doors I discovered that the bolts the hold the panel onto the metal frame had nowhere to screw into. The clip they were supposed to go into had fallen off on both doors. The only reason I even realized there was a clip is because one of them stuck to the magnet of a speaker I removed.

After hooking everything up I reattached the battery cable and fired up the stereo. All I could hear was a static buzz! I thought I’d hooked something up wrong. It turns out that the radio defaults to an AM channel with no signal. Oh boy.

Altogether I would rate this as a fairly straightforward install (especially compared to some of the stuff I’ve done). It seemed like a lot of little stuff went wrong and things took longer than they should have. I completed the install over several days but all told I’m guessing I put in about ten hours. To reiterate though: absolutely worth it.

2014 Ford SVT Raptor

I bought a Ford Raptor. That’s right- I’m a Ford man now. My apologies to all the Ford people I have teased and hurt over the years. I thought it was my unspoken duty since I didn’t actually own a Ford… I see now that I was wrong (so wrong). The Raptor is an amazing truck and I am thrilled with this purchase.

2014-raptor-2

I’ve actually wanted a Raptor for a long time. After I sold my first Tacoma I looked at them seriously and even test drove a couple. Ultimately I went with another Tacoma due to size restrictions (a Raptor would not have fit in my last garage). Later after selling all my cars I looked at Raptors again but decided to stick with my Tacoma and get a new car. And that’s what I tried to do.

Confession time. Back in early July I actually ordered a really nice car. “Two to three months,” they said. I was okay with that. And so I waited. And waited. And waited. After nearly four months I wasn’t any closer to getting a car (due to “allocation decisions” the manufacturer hadn’t even picked the order up from the dealer for manufacturing). I was pretty turned off and so I started to look around again. And that’s when I came across the perfect Raptor…

White, Roush off-road package (supercharger!), sweet upgraded bumpers, massive light bars- it was the one! I know from having watched Raptor listings on dealer websites that they typically don’t last long so I jumped on it ASAP.

I bought the truck from Ken Garff Ford and I have to say that I had a fairly pleasant experience. Everything was super laid back- no pressure (maybe a little too laid back). Everyone was helpful and friendly and they made the negotiations, trade in process and paperwork fairly painless. I was even able to purchase a official Roush warranty through the dealership for extra peace of mind. So far I’ve had my truck to the dealer twice for service issues and modifications and things have gone pretty well (I did run into a couple of issues on my second trip but they got things nicely resolved).

2013-ford-raptor-cam-1

Visually there’s a lot here to enjoy. I love the look of the Raptor’s exterior- it’s big, aggressive, sporty and to me the front grill and wider stance looks way better than a regular F-150. I had the front end on my Raptor raised to level it out a bit. I’m not totally sold on the bed graphics but I think they will grow on me.

2014-ford-raptor-front-back

I think the Addictive Desert Designs bumpers and Rigid lights in the front (and back) kick the visual appeal up a notch. And the bumpers make me feel like if I get in an accident I’m driving home and they aren’t. The LED light bars are super bright- probably a little overkill (total lumen output is rated at 25,000+). I’m really excited to take this truck off-roading (Baja 1000! Just kidding).

2014-ford-raptor-interior-wheel

I had Ken Garff Ford put on 20 x 9 BMF Novakane rims & 35 x 12.5″ Nitto Terra Grappler G2’s. Originally I’d wanted the rims blacked out but the wait time was 3-6 months. I opted to get BMF’s “death metal” two tone finish and I really like it. The offset on the rims pushes the tires out a bit past the bumper which I like as well.

The interior is classic black (with some silver trim)- in some ways basic, but very functional. Nice layout, comfortable power seats (heating and cooling!) and lots of cabin headroom even with a sunroof! I don’t know why but I love sunroofs. The gauge cluster and the interior technology are light years ahead of my Tacoma. The stereo isn’t bad either- I think it just needs a better subwoofer (I’m on it!).

roushe-raptor-kit

And of course the Roush Phase 2 kit. The supercharger bumps the power output to 590 HP and 590 lb ft of torque (crank- and probably not that much at Utah’s elevation). I am wary of modifications like this after what I’ve been through but having a warranty helps me feel okay about it. The kit also includes a cat back exhaust system that enhances the audible rumble from the truck (and creates a small amount of drone at certain RMPs), a boost gauge, embroidered head rests and window and bed decals.

I haven’t had the truck too long at this point but my initial impressions are almost all positive. The handling is exceptional- much better than my Tacoma. Given it’s size the truck feels surprisingly agile and solidly planted to the ground. After changing wheels and raising the front suspension the ride is a bit stiffer but that suits my preference perfectly. Very happy with the drivability.

And, for a truck, the the Raptor is fast (owing that, in part, to the supercharger). I had to pull off to the side of the freeway and when I merged back on I was impressed by the acceleration. It’s not a race car, but it might just be a race truck.

There are some little things that bother me. For example the 12V power plugs are always on so I can’t leave any accessories (i.e. a radar detector) plugged in. And even though the car keeps track of nearly every operating parameter there is no easy way see some things (i.e. a digital speedometer or tire pressures). I also wish the truck had side collision detection. As I said, all little stuff.

Overall I’d put myself deeply in the “fanboy” camp. At some point – after I’ve owned it for awhile- I’ll do a more in depth review (I’m probably lying). Bottom line: this is a great truck with some exceptional features. For now it’s going to be my only vehicle (I cancelled my car order) and that’s just fine with me.

First Meeting:

I set eyes on the coolest truck ever.

A real truck. I told one of the employees I was interested in the truck and he suggested I come back tomorrow. I started walking out the door, but then turned around said said that if they were ready to sell I was ready to buy then and there. 

I made a deal and took her home that very night.